Quick start
If you are setting up ReadyTab for the first time, this is the shortest path to a usable dashboard.
Before you start
Install and enable
- Install ReadyTab in your browser — see Installing ReadyTab for Chrome, Edge, Brave, and Firefox
- Make sure the extension is enabled
- Your browser may warn that an extension changed your new tab page — keep this change so ReadyTab can load as your start page
- Open a new tab to confirm ReadyTab loads
- If another extension replaces the new tab page, disable that conflict first
Good default expectation
- Your first space may be empty
- You can start with a group, bookmarks, or suggestions
- Settings, search, and spaces can all be adjusted later
- Most advanced features remain optional until you need them
First run, step by step
- Open a new tab. ReadyTab loads as the new tab page.
- If your current space is empty, use the onboarding actions to Add Group, Add Shortcut, Import Bookmarks, or Start with Suggestions — or pick from the popular-site suggestions. The "Set up the essentials" side panel lets you set link target, clock, search bar, Spotlight, auto-favicon, and theme right from the empty state.
- Add your first items inside that group, such as links, headers, text blocks, clipboard items, or launchers.
- Open Settings to configure search, appearance, backgrounds, spaces, data import and export, session recovery, and optional Pro features.
- Use Ctrl + Space or / to open Spotlight search and jump to saved links quickly.
Good first setup
Create one group for daily links, one group for tools, and one group for work or project shortcuts.
Common first tasks
Create your first group
- Click + Add Group
- Name the group
- Add your first links or items inside it
Create a second space
- Open Settings → Spaces
- Create or import another space
- Use it for a separate context like work or personal
Import bookmarks
- Open Settings → Data
- Choose a bookmark folder
- Import it as a new group
Import a workspace
If you already have a ReadyTab backup or a workspace from another device:
- Open Settings → Data
- Use Import JSON and choose your backup file
- Your spaces and groups are restored
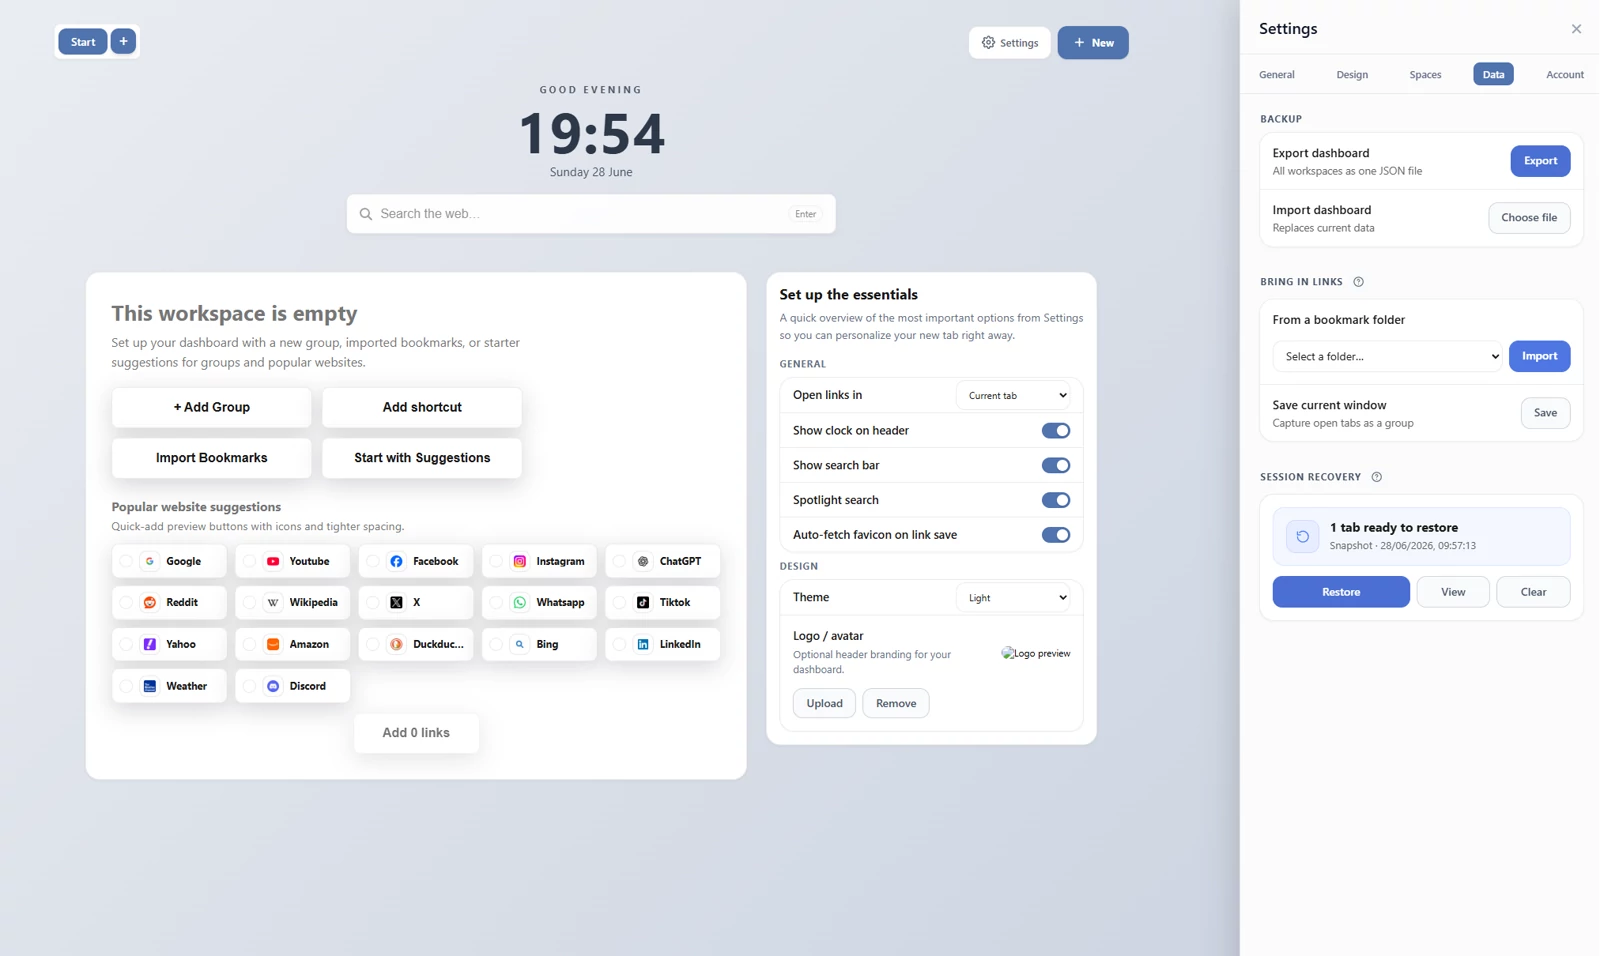
Importing a workspace from a JSON backup (Settings → Data → Import JSON).